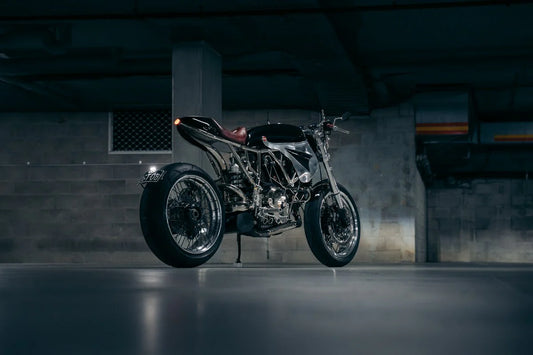
There is something special about modifying a motorcycle. It brings out the child in you that just wants to tinker and make something your own. But what happens when that small inner child grows up, and your skills develop. In our world, it looks like this. A handbuilt custom motorcycle frame which will eventually become a fully road legal speedway bike.
For the past 6 months Tom and Donny have been quietly working away on a complete scratch build, a 500cc speedway springer for the road. It is a step up for the boys because its our first scratch build going from hand sketches, to cad, to real world. We are no stranger to modifying frames, tail sections, and front ends; but to start from the ground up and build something totally new, that's different.

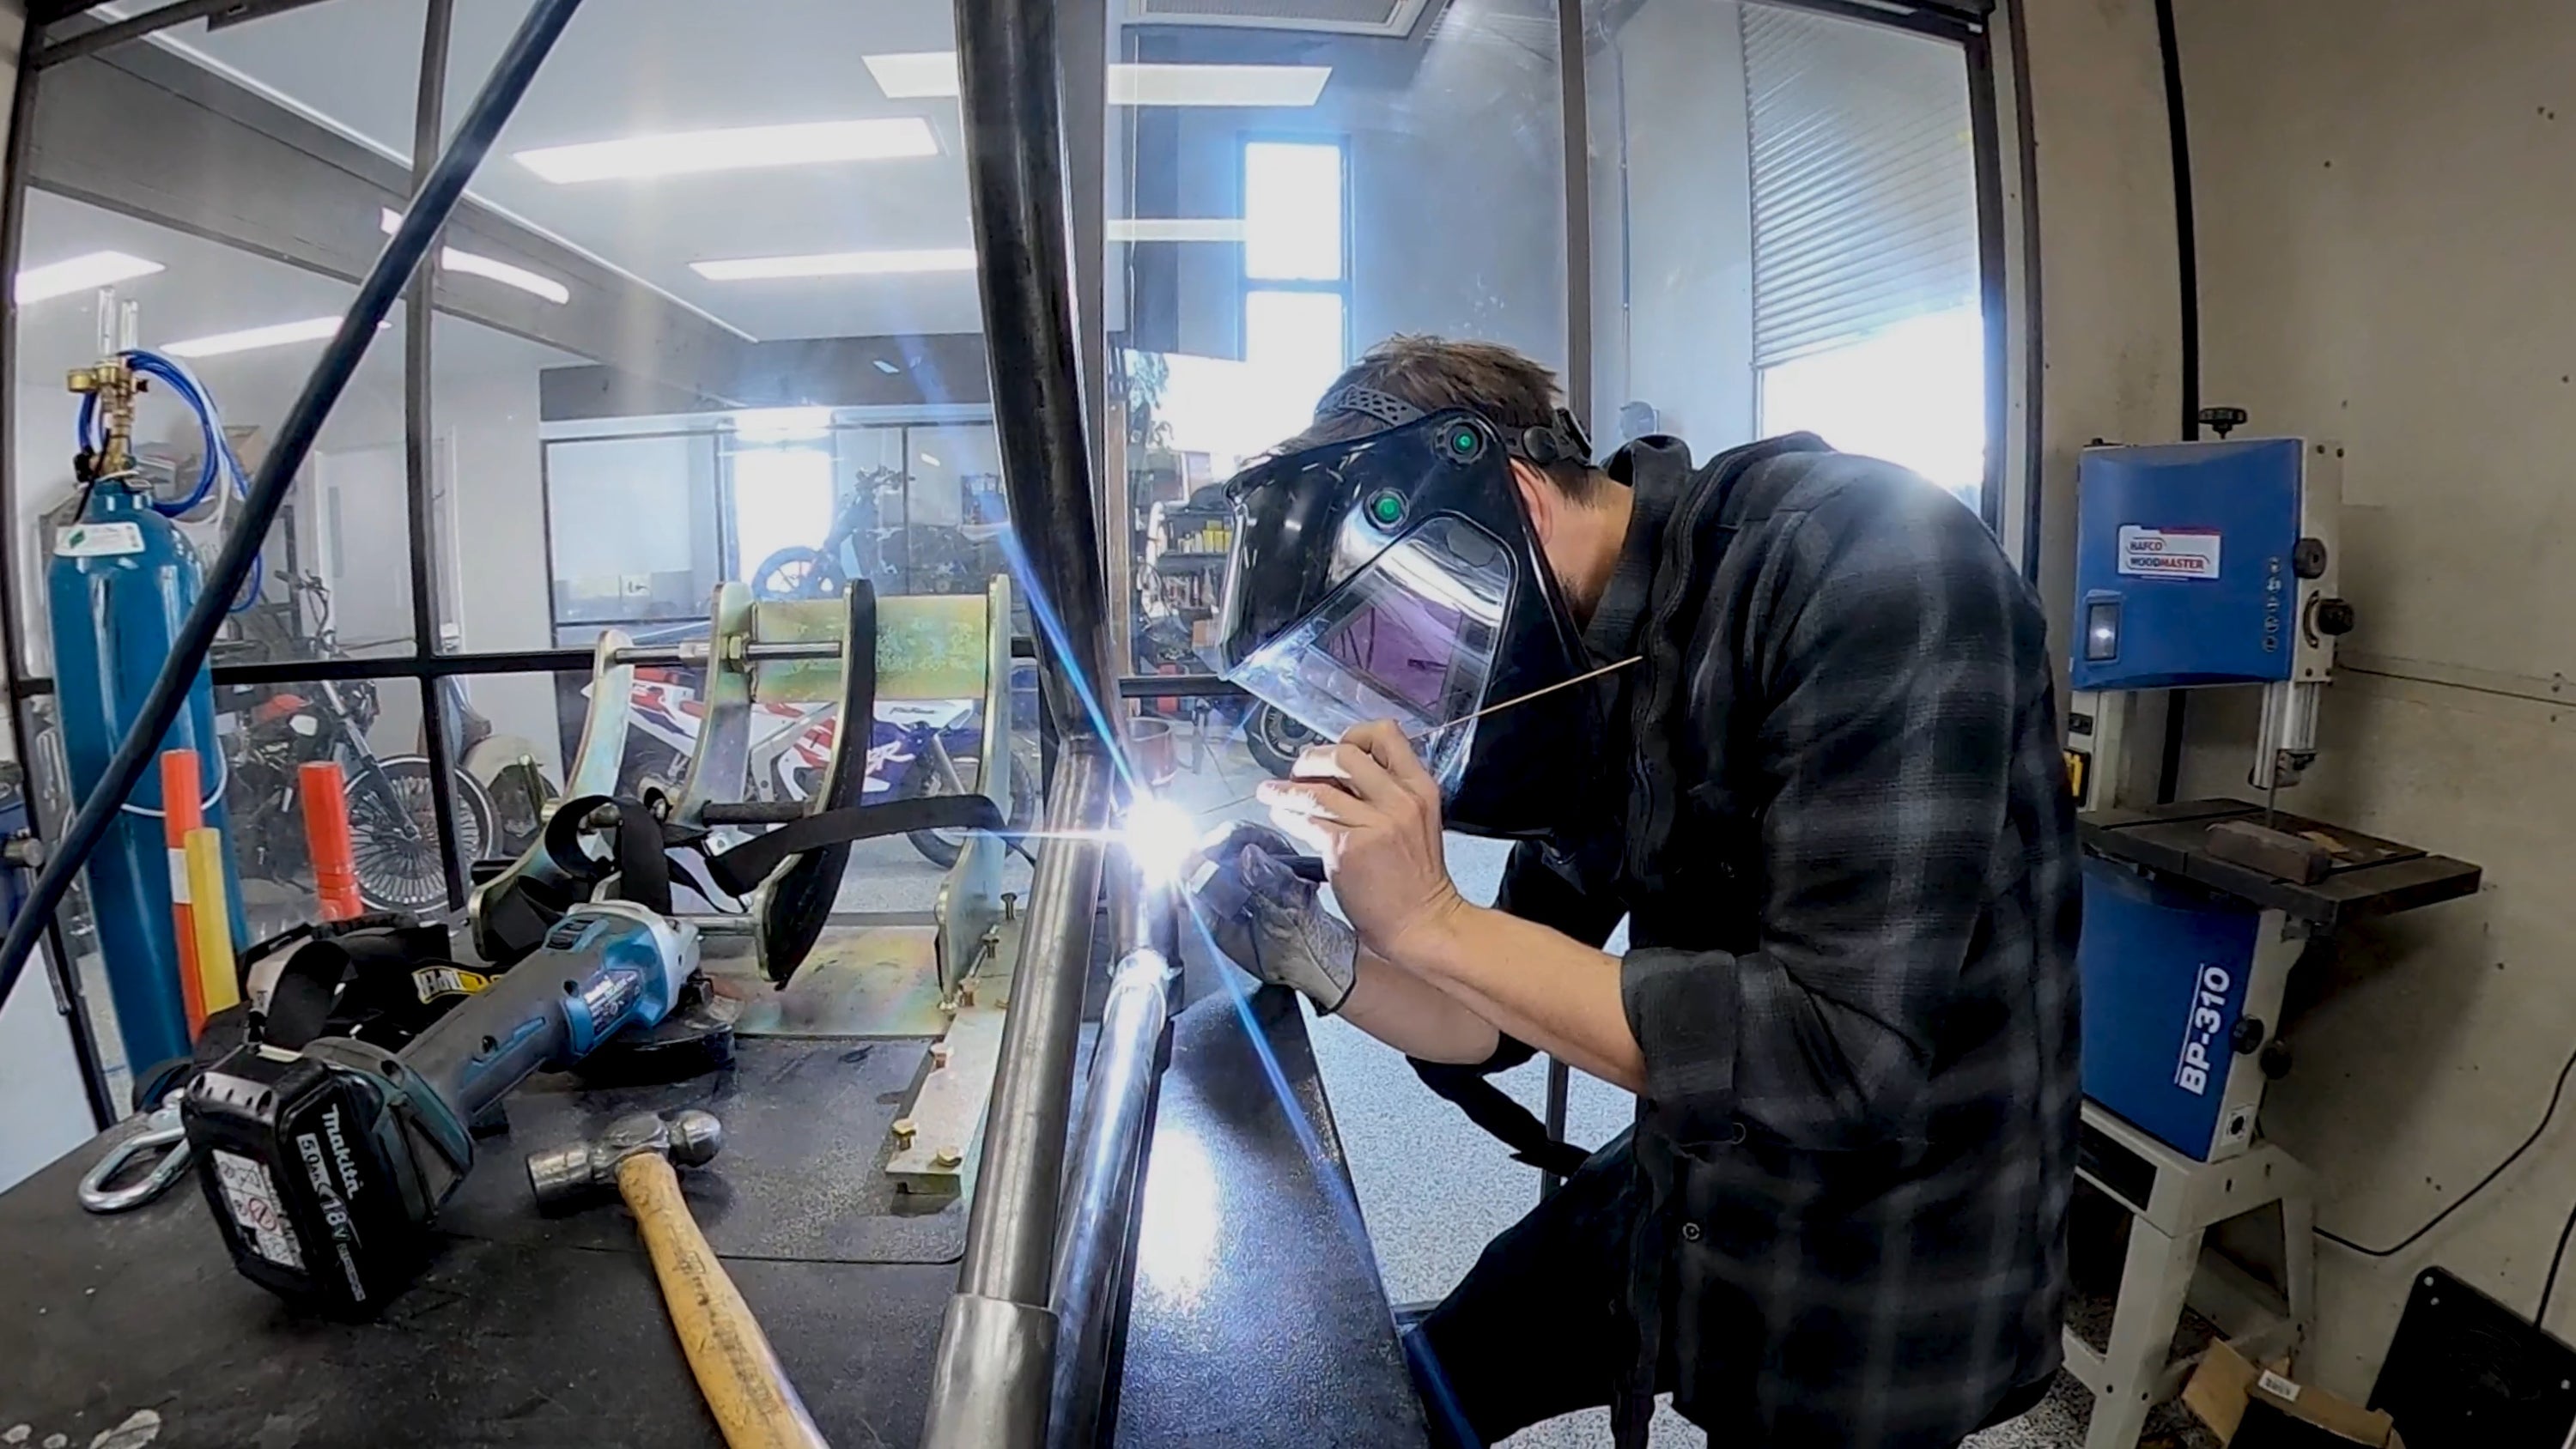
Starting with the downtube head stem and the motor, everything was lined up on the bench and tack welded in place to prevent misalignment and twisting. This included the head stem being but into a jig that held the downtube straight, placing the motor where it would eventually sit, and mounting of the rear wheel to the adjustment blocks. This gave the boys an idea of exactly where they needed to start and finish. Set up is extremely important in builds like this, a millimetre difference in angle can translate to a few centimetres out down the length of a full frame. Once everything was lined up and prepped the cutting began.
The frame rails were to be the first parts to be cut, bent, and straightened. Once lined up they were tacked to the head stem and bottom motor mounts. This line was carried on and was then mounted to the rear wheel adjustment blocks. With this in place the bottom rails were completed and the boys moved onto the top rails.

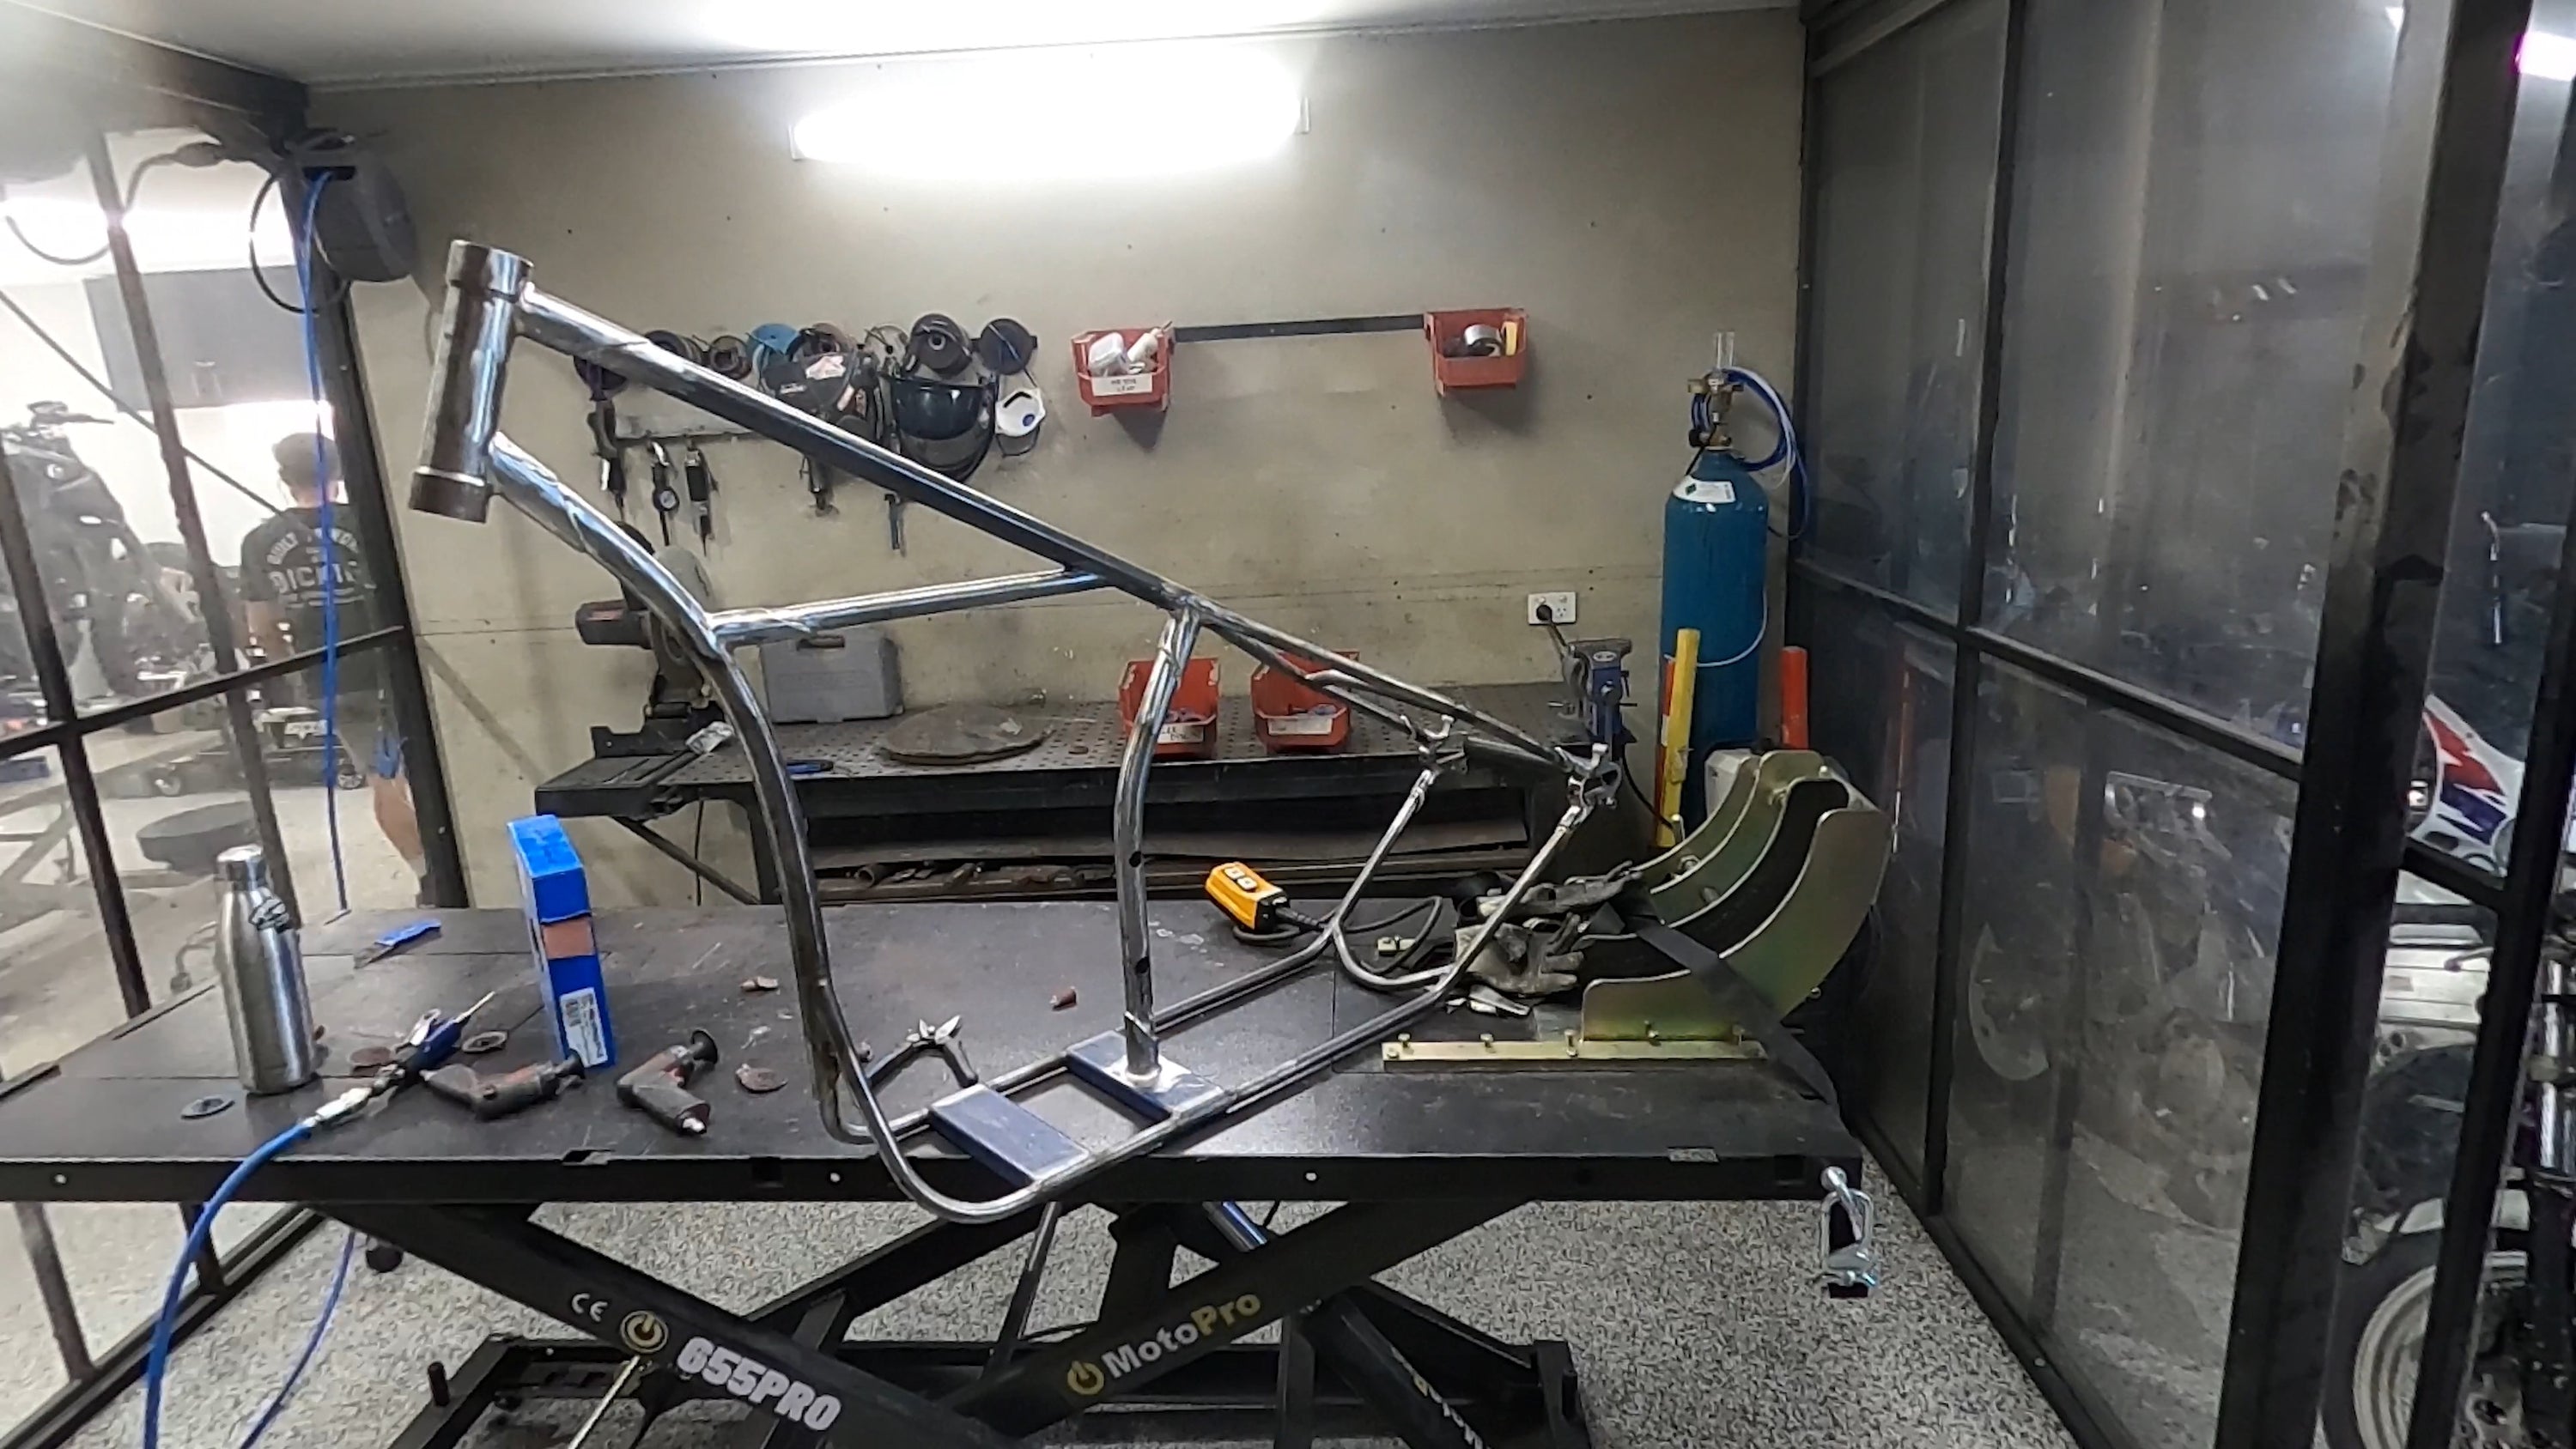
The centre top tube was measured up and marked out so the components could be cut. The seatpost was then cut and bent into shape followed by being mounted to the bottom rails. Once the seatpost was tacked in, the downtube could also be welded in creating the first half of the frame. The head tube has an 18 degree rake which means that the bike would have to be quite long to stabilise it. With the top tube and seat post welded in the signature long look started to take shape, like any custom chopper the way the speedway frame would sit is low to the ground with a long rake and lots of straight lines.
Detail trim for the weld areas was turned down on the lathe and the steel that would become the back section of the bike was cut and bent into shape. With some of the final parts ready the rear top section was welded in place creating the completed bones of the frame. With this done the finishing could begin.

The detail trim earlier made on the lathe was welded in place with silver braised rod which would strengthen the joins as well as help produce smooth, leak-tight, electrically conductive and corrosion-resistant joins.
With this finished the grinders came out and the whole frame was smoothed and ground back. This completed the build of the actual frame itself and allowed the back wheel and motor to be mocked up which aided in the design of the engine and separate gearbox mounts. These were jet cut out of aluminium plate, finished and put in place.
This concluded the frame build. On the next blog in the speedway build we get into the knitty gritty of designing the front end.

If you are interested in trying some simple modification of your own bike, why don't you have a go at something simple with one of our fender fabrication kits?
This build is proudly supported by SWS Welding Equipment
WE BUILD BIKES WITH PURPOSE.
Purpose Built Moto is home for unique custom motorcycle builds. We offer a unique motorcycle customizing experience in the heart of the Gold Coast.