OK, by now we have a pretty good idea of the direction your Project Bike is heading in. Steps 1-4 if done properly will hopefully make the tail end of your custom motorcycle build nice and simple, and if it isn’t you’ll have the knowledge of your bike to handle it anyway. If you missed out on Part 1, Click Here to go back and have a quick look.
So let’s get going on the beginning of the end of your Project bike.
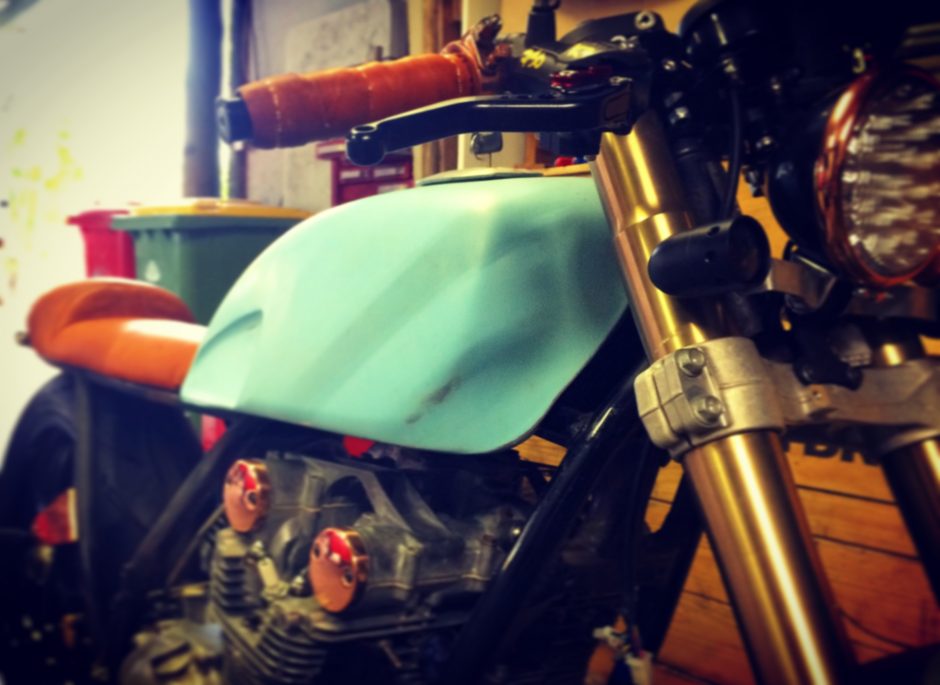
In Part 2 we will Show you the steps we take in assuring your Café Racer project hits the street with a bang (a good one). Starting with getting your parts, out to paint and polish.
5. It’s going to get shiny, don’t get distracted.
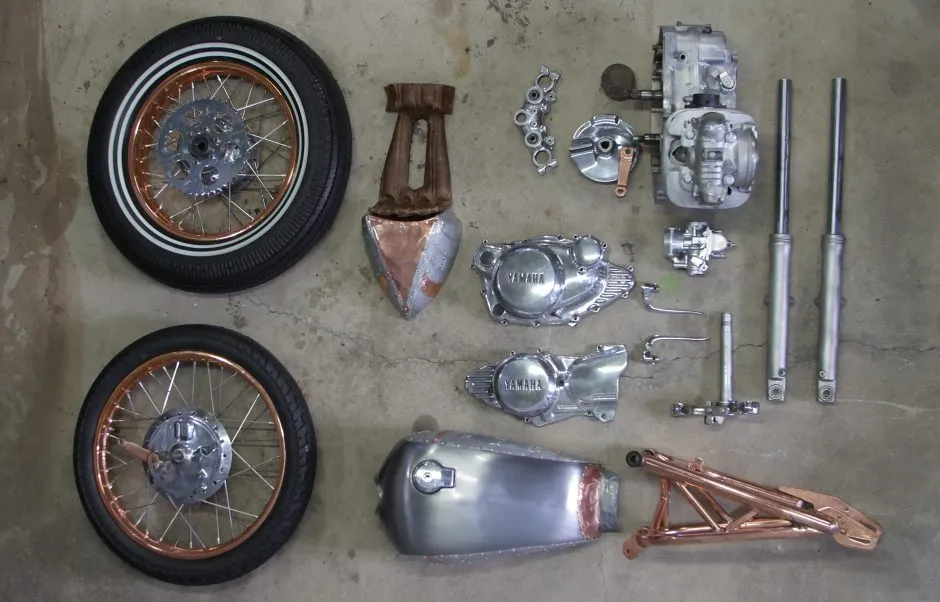
By this point you’ve got a mountain of parts in the garage. Separate your powder coat, paint and chrome/polish parts and have them sent out to do what needs to be done. I was lucky enough to find a local guy who enjoys doing intricate bike stuff and I’m sure if you look around your area there will be someone willing to take on the small parts. Don’t get discouraged if someone doesn’t want to know you, it’s their business and how they want to run it is their choice.
Also take this time to get your seat pan or foamed seat to the upholsterer. Doing all this at once can seem daunting to the bank account but it allows you to give your painters and leather wizards a good amount of time to do a nice job while you tinker with other parts of your build.
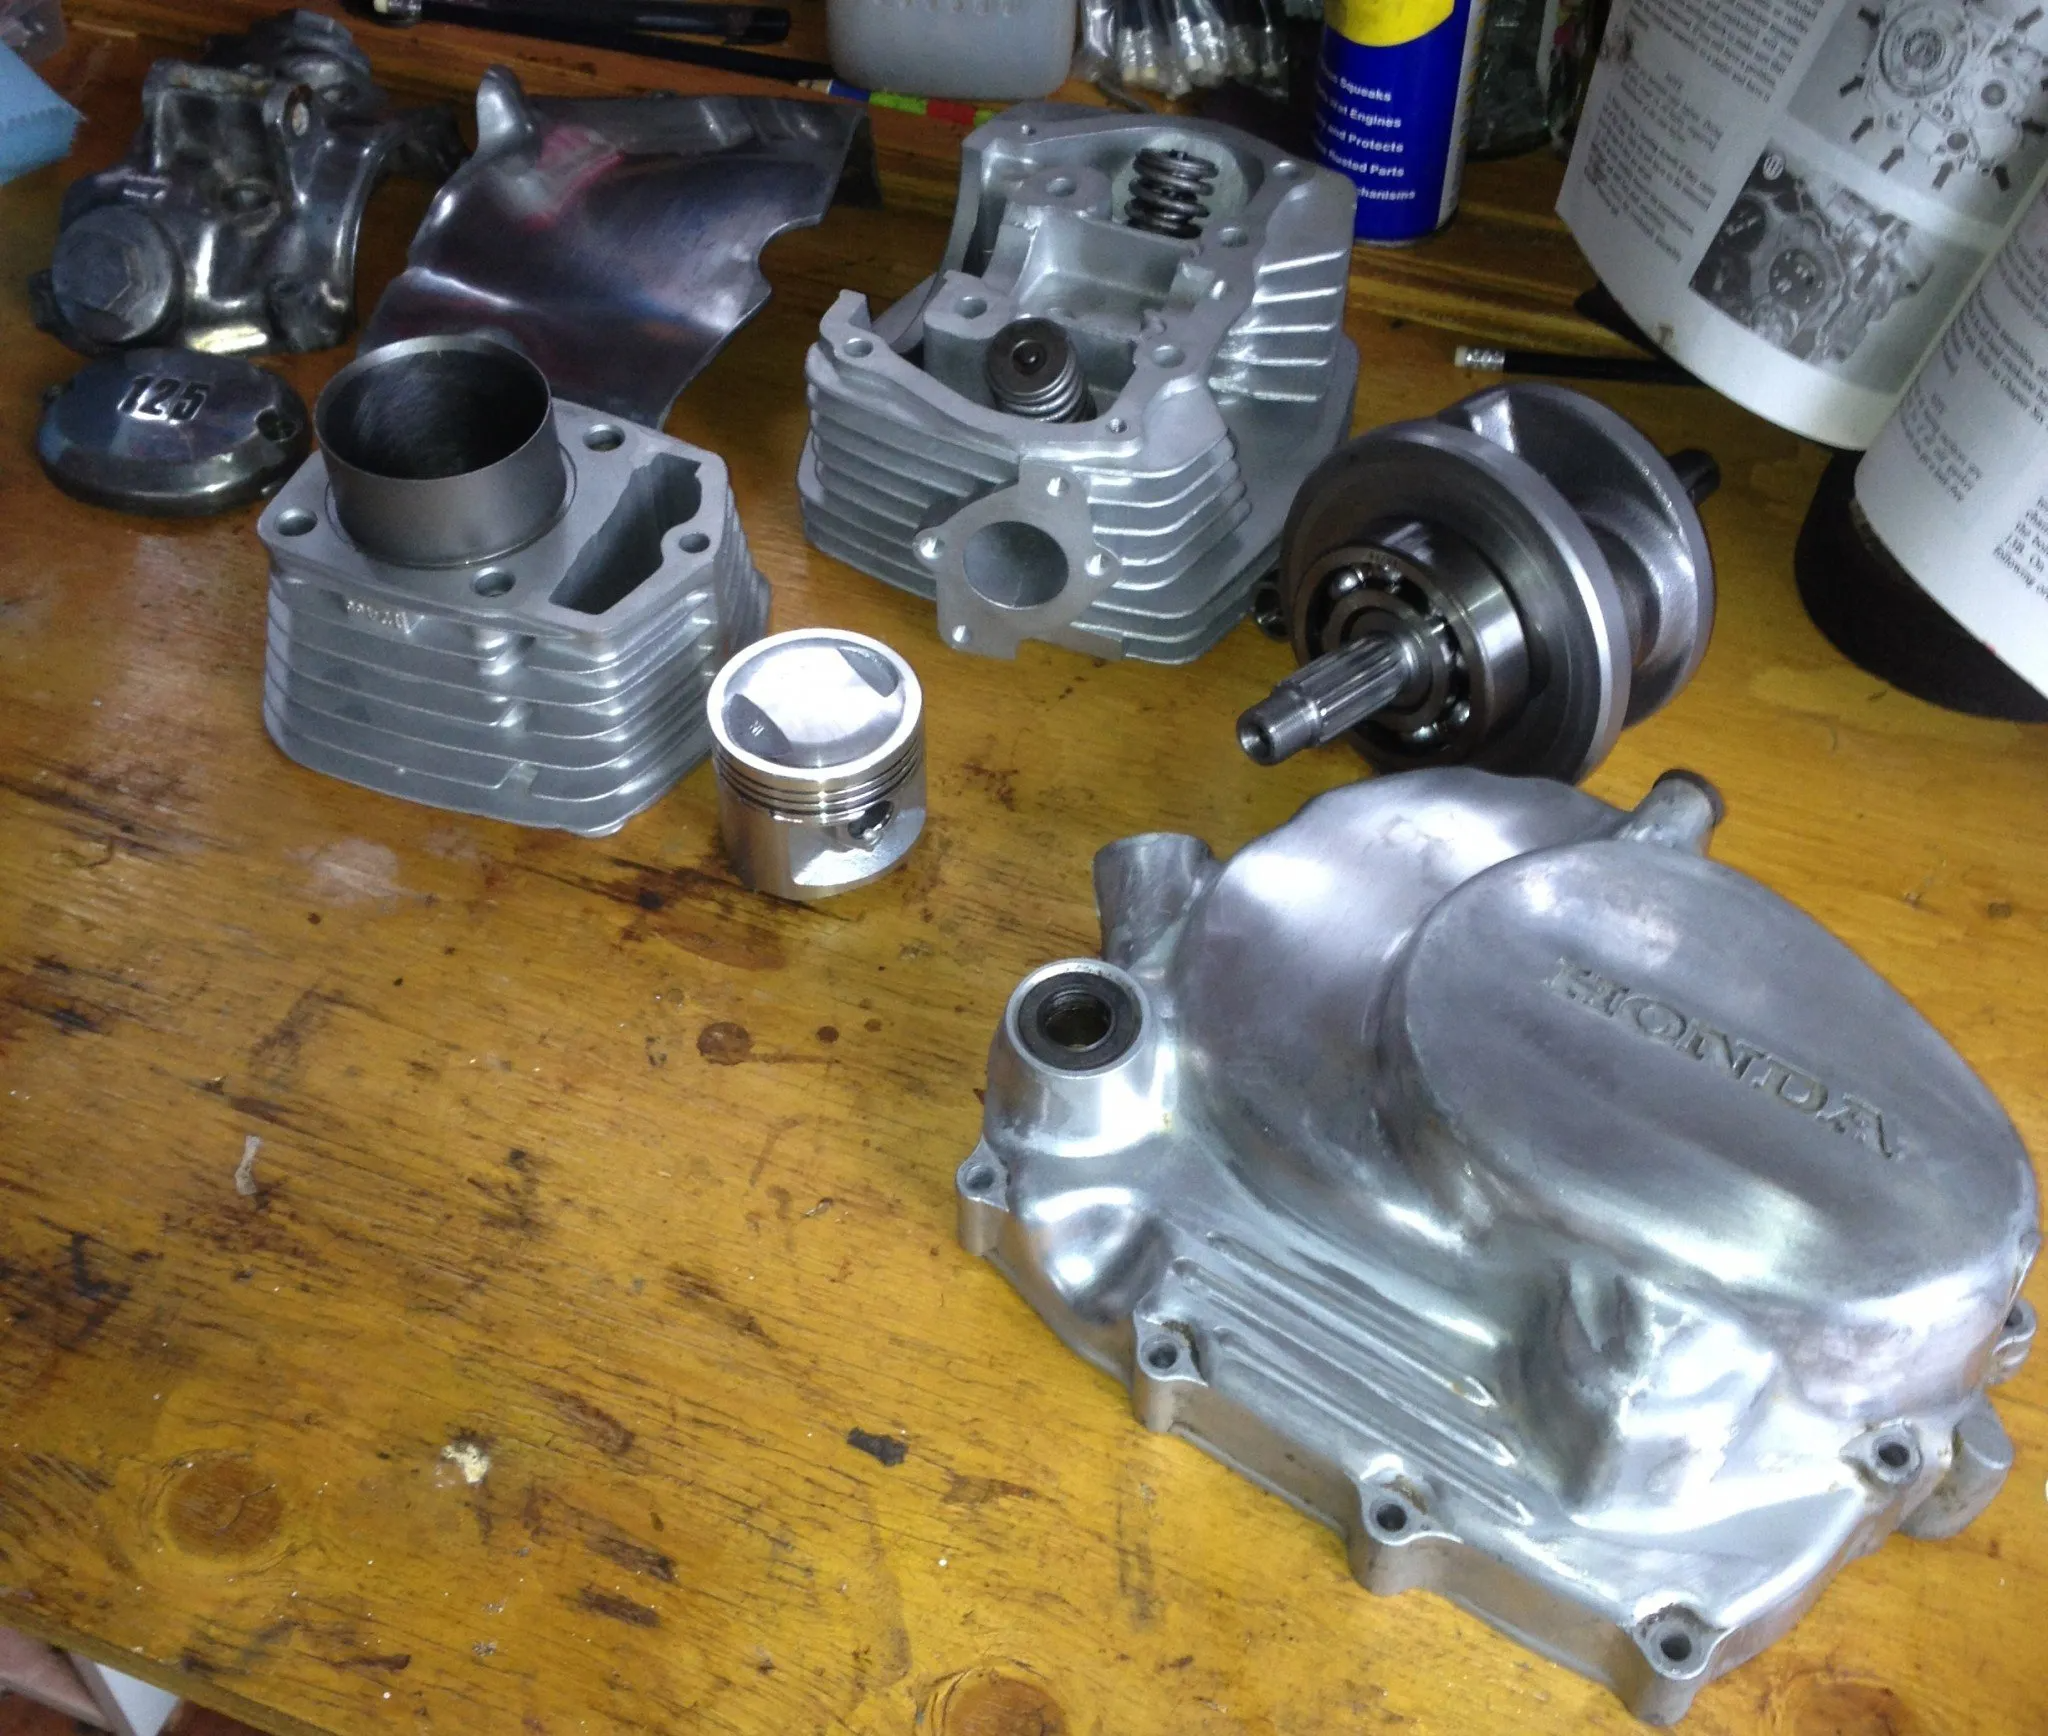
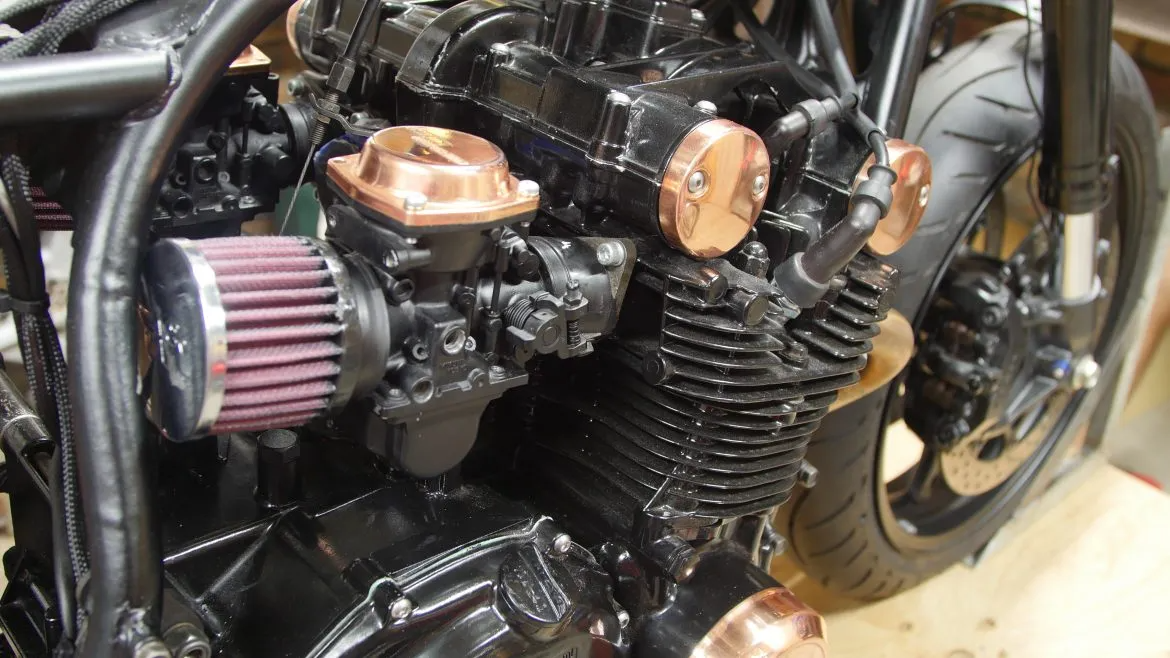
Remember when you ran the bike and checked it over? All that comes into play now, if any engine work needs to be done now is the time to do it. If you intend to have a go at it yourself, cleanliness is key and a factory workshop manual will be worth its weight in gold. You should have a good few weeks to get all this sorted out while your parts are being finished up. The condition of the motor before you started will determine how deep you want to go. As a minimum you should check over the carburettors, give them a rebuild if needed, take the clutch apart, measure the tolerances and make sure your timing and valve clearances are correctly set. WORKSHOP MANUAL, WORKSHOP MANUAL, WORKSHOP MANUAL. If you come across any large issues and you’re not confident on repairing it yourself you have 2 options;
A) Call a mechanic and have it sorted, OR
B) Sack up, read some forums, ask your dad, go on a you tube spiral that starts with a “how to rebuild an engine” video and ends in dogs wearing sunglasses, then have a go at it yourself. The choice is yours to make.
I recently had an experience with a hydro-blasting service on the Gold Coast, The engine was a horrible mess and looked as if it had been sat in a garden as an ornament for 20 years. I stripped it down, sent it in and what I received back was nothing short of incredible! A non destructive process that delivers a better than factory finish, if you have the means and can find someone to do it I highly recommend it.
One tool I would recommend to any new enthusiast is a good torque wrench. These are 100% necessary and if someone tells you otherwise, they are full of shit or a magical bolt tensioning wizard. You should get familiar with the torque settings for the work you do on the engine, make sure it’s right and tight!
This is also the time to think about any extra parts you’ll need to make your bike ride nice and reliable. Order your new wheel bearings, brake pads, any replacements for leaky seals, new chain and or sprockets, Reg/rec units, new coils. All the stuff that isn’t pretty but you need to get anyway!
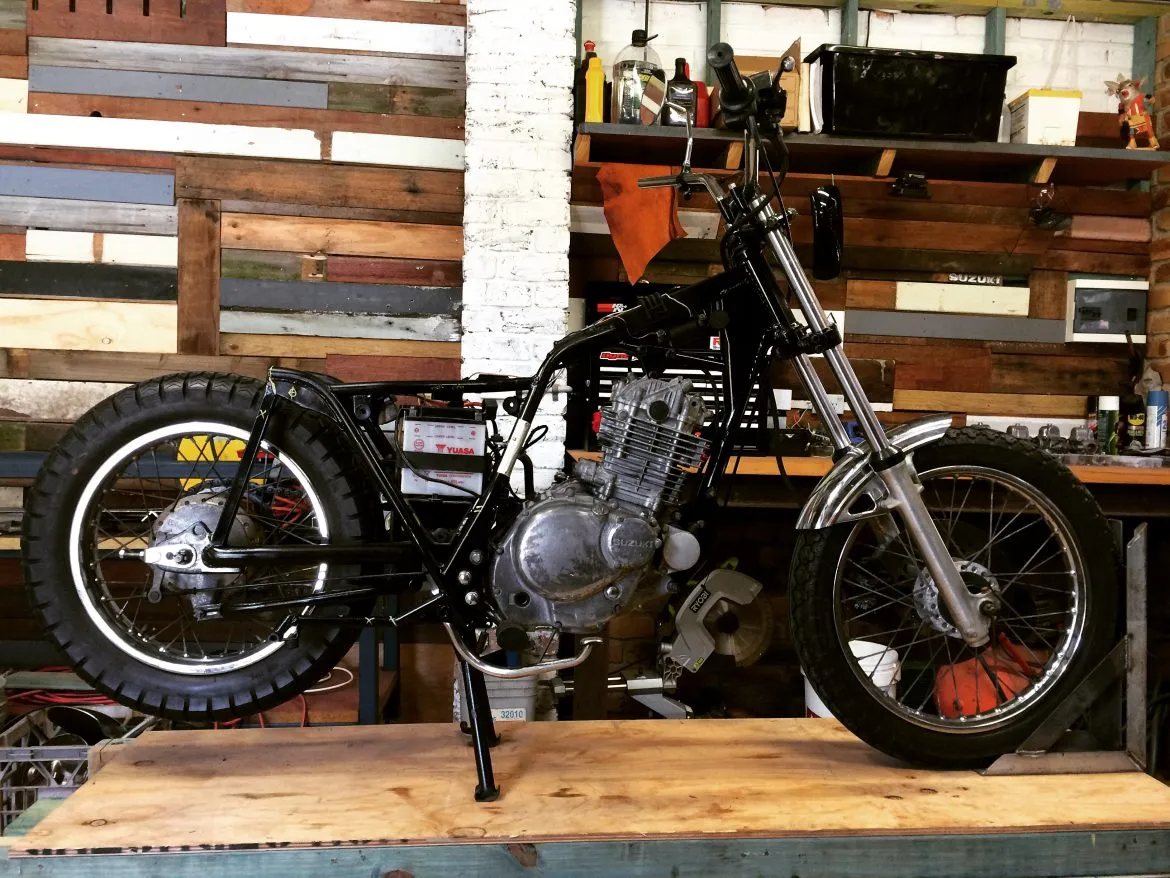
6. The final assembly.
You’ve spent countless hours dreaming of how your bike is going to look, now is the time that all your effort finally manifests into a tangible result. All your friends who didn’t quite get why you were wasting your time will start to ask for advice on where they should buy a project bike, and what they should do with it.
You’ll assemble your bike with new bearings, brake pads, rebuilt forks and anything else you have fixed, made worse or bought new until you have two wheels connected to a frame with suspension and an engine. If you’re after some vintage look tyres like most people are, I’ve started using Shinko on my builds where possible, they look great, ride and wear well and aren’t harsh on the pocket if you’re looking for a more road/trail tyres Check out Hiedenau my personal favourites are the Big Block and the K60 Scout.
Put all your fluids in here, a trick that recently got me was the use of synthetic or mineral oils. Older style engines and wet clutches were made to run in mineral oil and using synthetic will cause slippage with your clutch and a burn in your pocket. However if you’ve rebuilt your clutch and replaced the plates, chances are it will be fine with synthetic. Easiest way to avoid this problem is ask your parts supplier and know for sure. At this point you can either send a box of parts and the rolling chassis to an auto electrician or get set for a steep learning curve.
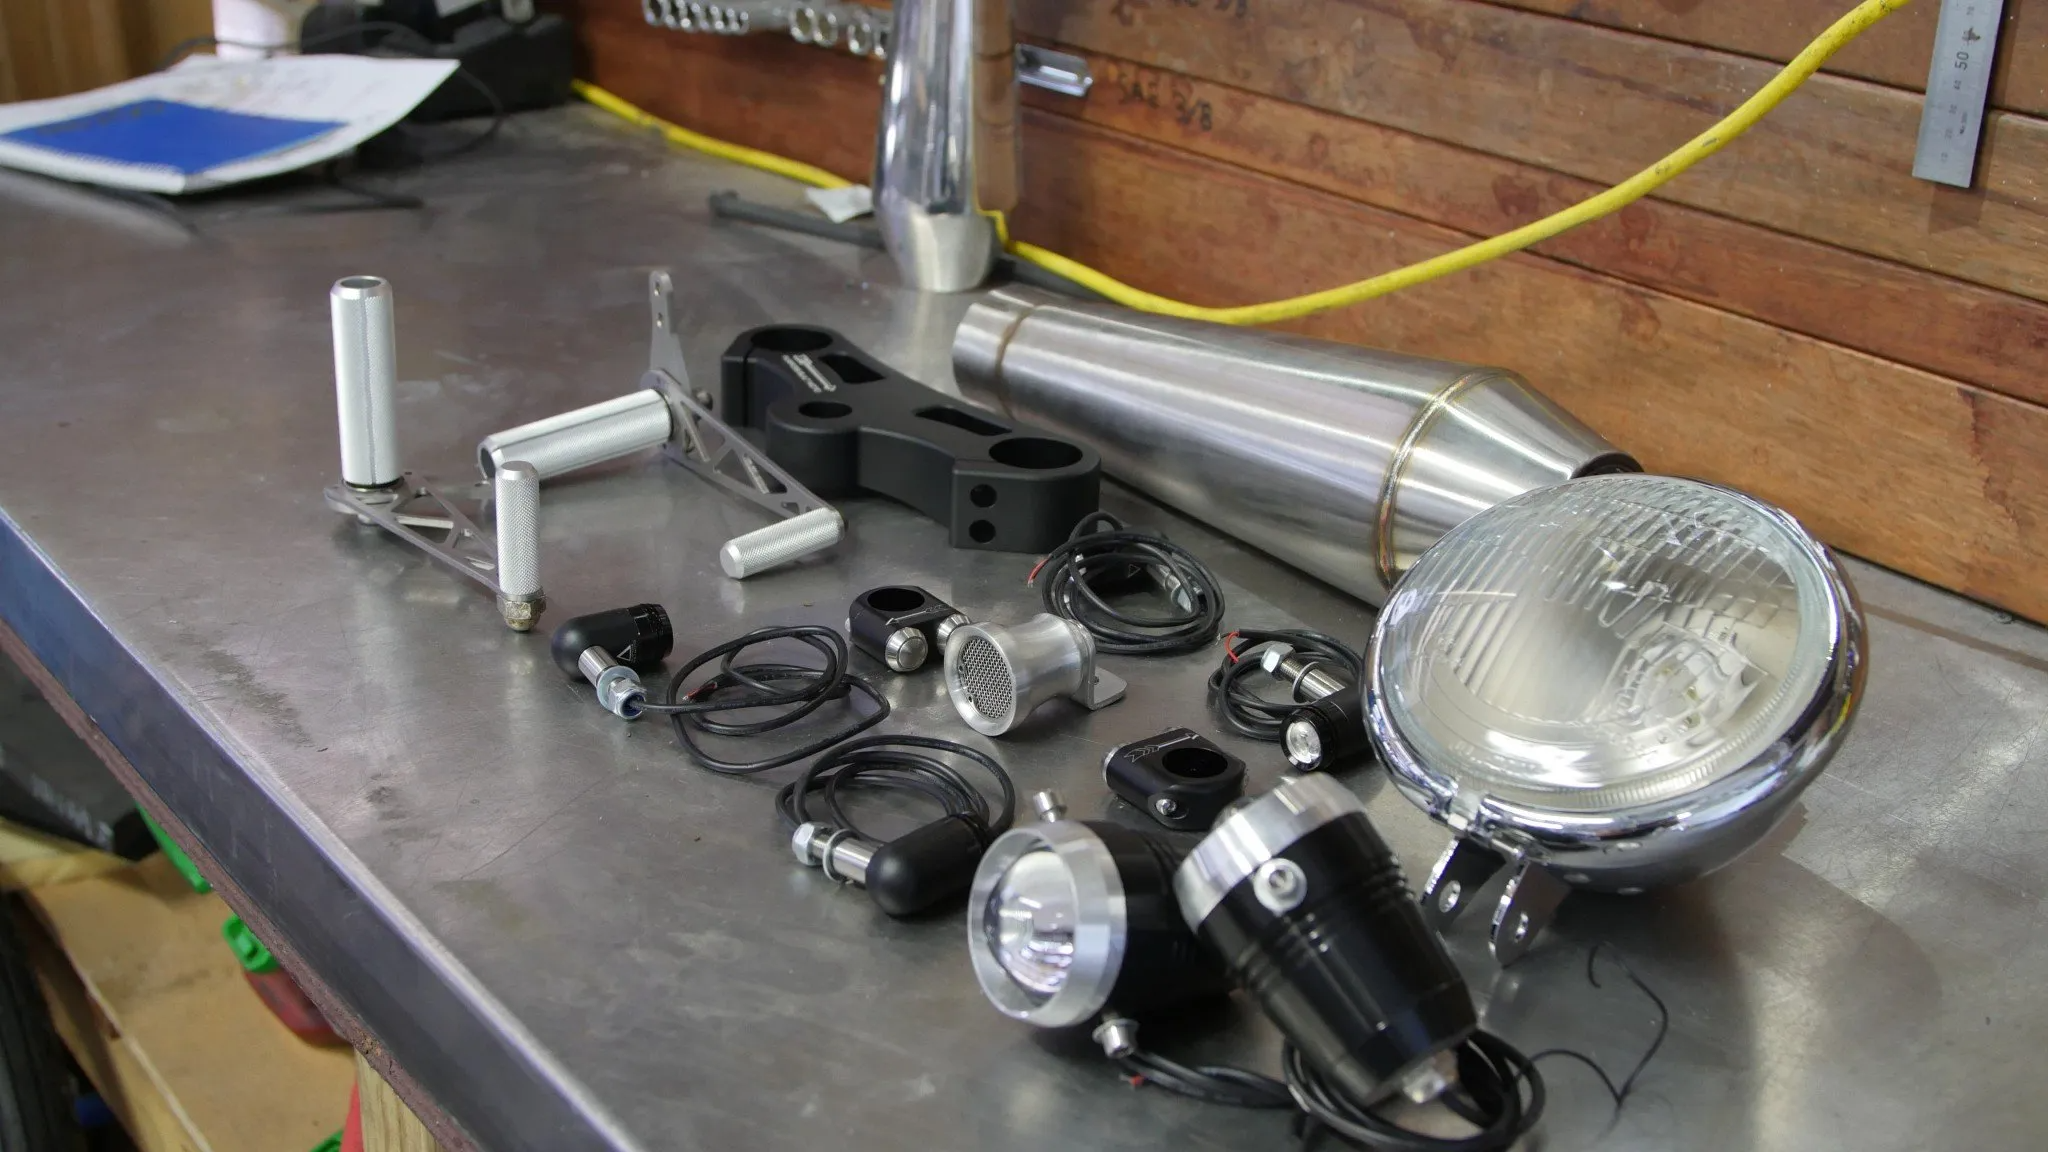
I suggest sorting out all your running electrics; reg/rec, battery, relays, switches, key ignition, LED indicators or turn signals and lights, mounting it all on the bike before you start wiring. It gives you an idea of what you’re doing and anything you’ve got outstanding.
During the plan of your wiring lay out your standard wiring diagram and put a clear plastic sheet over it, now with some markers trace out the components you still need (coils, reg/rec, spark commander or MCU etc), this gives you all of your running electrics. Now you can either add your new ignition switch, lighting and switching to that or make a separate drawing to keep it a bit simpler.
Like everyone else you want all that mess hidden, you have an electrics tray and a fuel tank tunnel for that exact purpose. If you’re doing it yourself a simple trick I use to keep it all super tidy is to buy a terminal strip or 2, stick them down to your tray and label the different terminals as you wire them. It may seem unnecessary but at the end of it you’ll be glad you did it, especially if there is an issue later. While you’re wiring you should also be making notes or a drawing in your “Build Bible” for reference later, marking colours, location of wiring etc. We will cover wiring in more detail in a separate post at a later date.
If you’re having a custom exhaust built, do it now before your tank and fairings go on and get scratched in the exhaust shop. If you are using an off the shelf product it can go on any time.
Once your wiring is sorted out and tested and exhaust fitted, you can carry on with making your café racer or bobber look like a complete motorcycle.
Once your ride is fully assembled, run through your workshop manual and write down all your torque settings, right down to your case bolts. If you have been doing engine or suspension work yourself this should have already been completed while you pieced the parts back together. Start from the front and work your way over every damn thing using thread locker or anti vibration glue if you feel the need. Check and double check, this machine is going to be carrying you as fast as your ballsy to make it, and you should be doing everything in your power to avoid something rattling loose.
Finally before you get this thing on the road it needs tuning. You can either do it yourself between the bench and the road or take it to a dyno specialist and have it done right. You will see a lot of people saying that CV carbs from the late 70’s early 80’s onward cannot be run with pod filters… that’s a load of shit. You just have to re-jet your carbs and have them tuned well. Don’t cheap out on the pod filters, use a reputable brand like K&N or Uni filter, the cheap ones will only cause you heart break.
7. Ride out!!
Taking your first ride out can be a mixture of overwhelming excitement and nerves, have you done everything right? The answer is probably not, but you built this damn thing! And if anything goes astray you’re going to know exactly what to do to fix it. After your first few kilometres I would encourage you to give the bike a once over with your torque wrench again in case anything has settled in and loosened up. Also check your fluids for any inconspicuous leaks. If you’ve had your engine rebuilt there will be a separate run in procedure which I’ll leave up to you to find out.
Now enjoy the fruits of your labour, annoy your neighbours on Sunday at 6am warming it up in the driveway for your ride, and be as ruthless as you want lane shedding to beat traffic. You’ll come across plenty of onlookers and pedestrians that will ask why you did it like that and give you advice on how they would have done it. The important thing to remember is, fuck them. If they could have done it, they should have, but they didn’t. This bike is exactly as it should be and is now an extension of who you are. Go ride it into the ground!
As a final note; if your mates aren’t jealous and don’t want to start a project once you’re finished, you may have to start over.

I hope this has shed some insight and helped you with breaking your next (or first) project down into simple and easily achievable steps. It will be frustrating at times, that’s a given, but it will all be worth the sweat and tears soon enough.
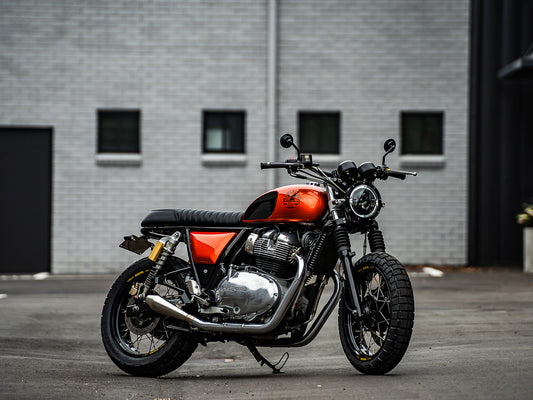
Make sure you keep an eye on our blog for a further breakdown of these steps as we walk one of our guys through this exact process on his first bike build pictured below.
Thanks for taking the time.
Tom.
WE BUILD BIKES WITH PURPOSE.
Purpose Built Moto is home for unique custom motorcycle builds. We offer a unique motorcycle customizing experience in the heart of the Gold Coast.
2 comments
That happens anyway as you finish your fabrication, you build the bike to a point of completion then strip it down for paint.
I dont feel like it needs to be its own step.
hey tom, as usual you’ve put together an informative/comprehensive article, thank you. question, what about the part where you put it together to get you relative fit sorted, you then take it apart again for polish, powder and paint?
tommy